User guide: organizations and employers
This guide shows how to register and verify your organization, add your team, publish opportunities, review applicants and search for talent. Everything starts with an ordinary personal account; the organization's roles are added to it.
Download PDF1. Registering the organization
Create your personal account first, as in the guide for people looking for an opportunity, then register the organization from it.
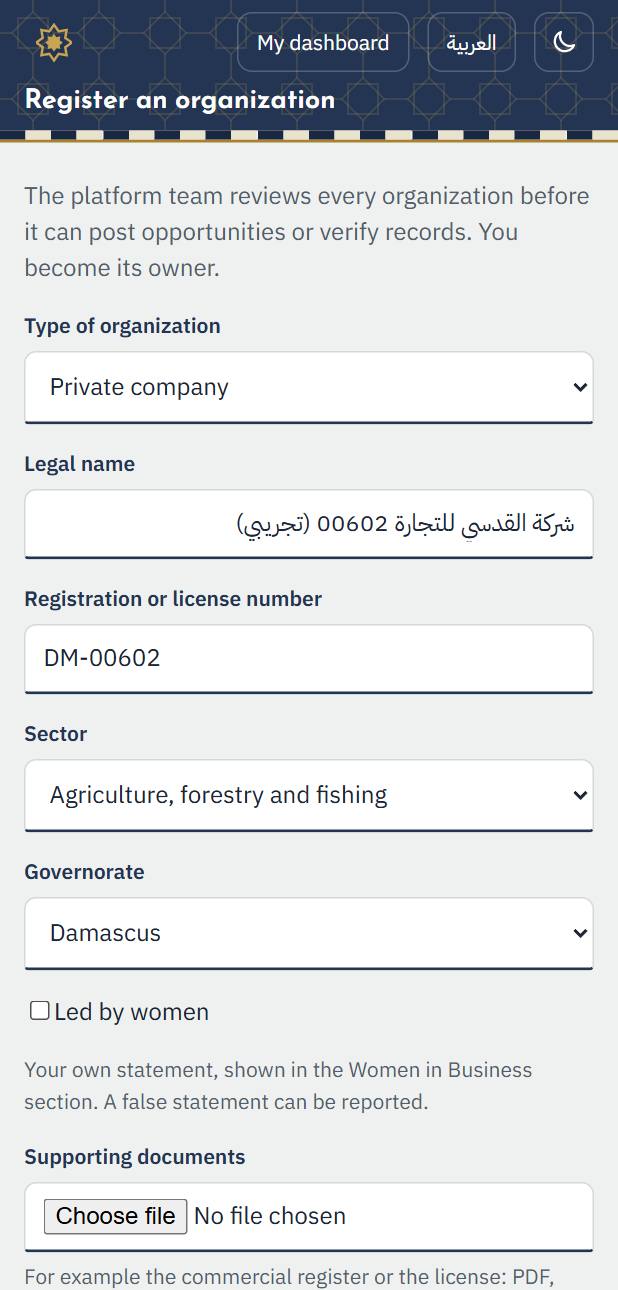
1. On your dashboard choose “Register an organization”. Choose the kind of organization, type its legal name, registration number, sector and governorate, upload the commercial register or license with “Upload the document”, then “Send for review”.
2. The organization stays under review until the platform administrator approves it. You cannot publish opportunities meanwhile, and you are notified of the decision.

2. Working for the organization
1. After approval, the role “Organization owner” appears under “My roles”. Choose it to work for the organization; only the permissions of the role you choose apply.
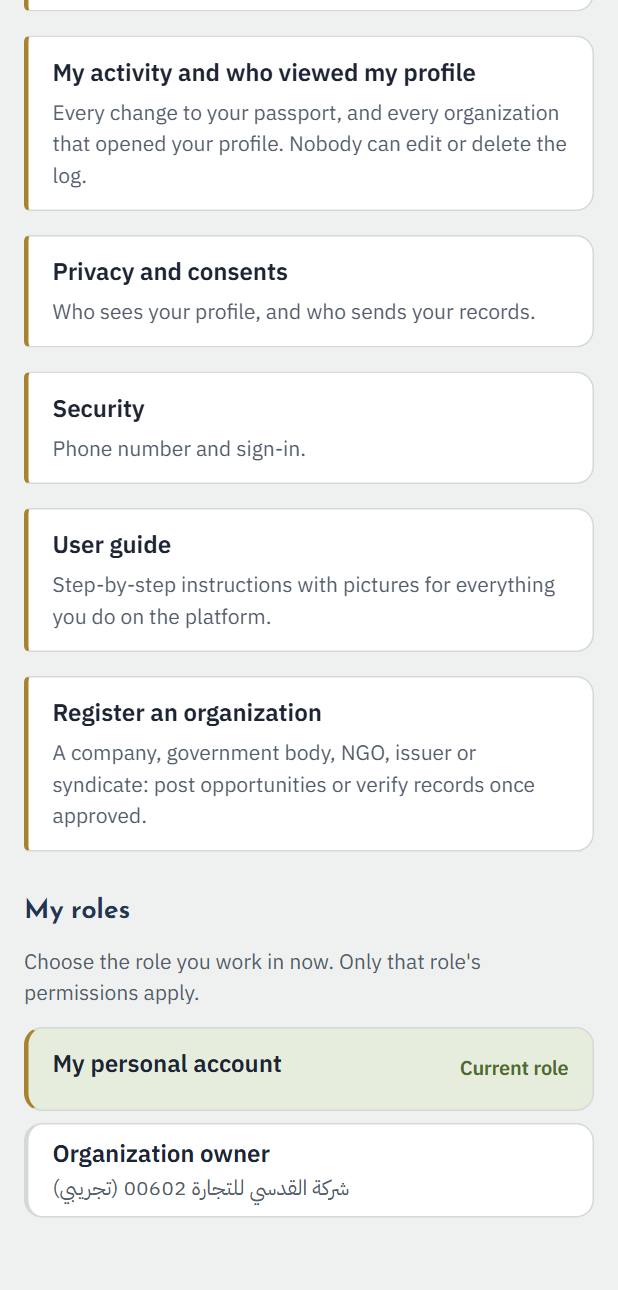
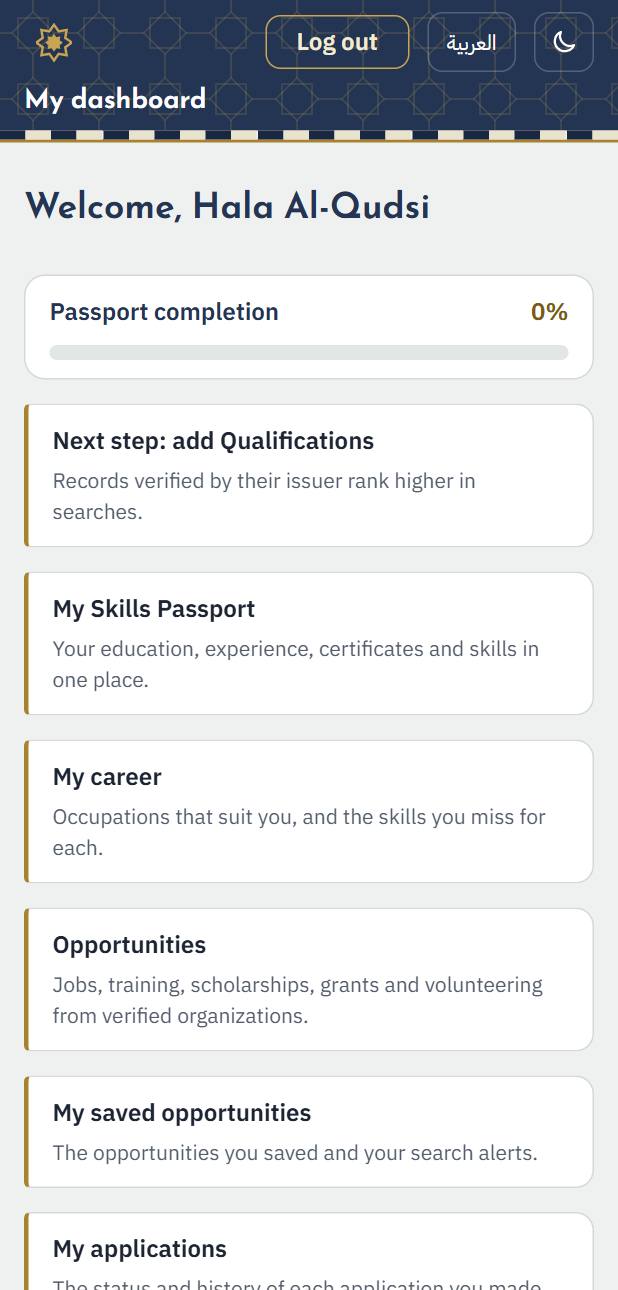
2. Your dashboard's cards change to the organization's work: opportunities, the team, talent search and the API.
3. The team and its roles
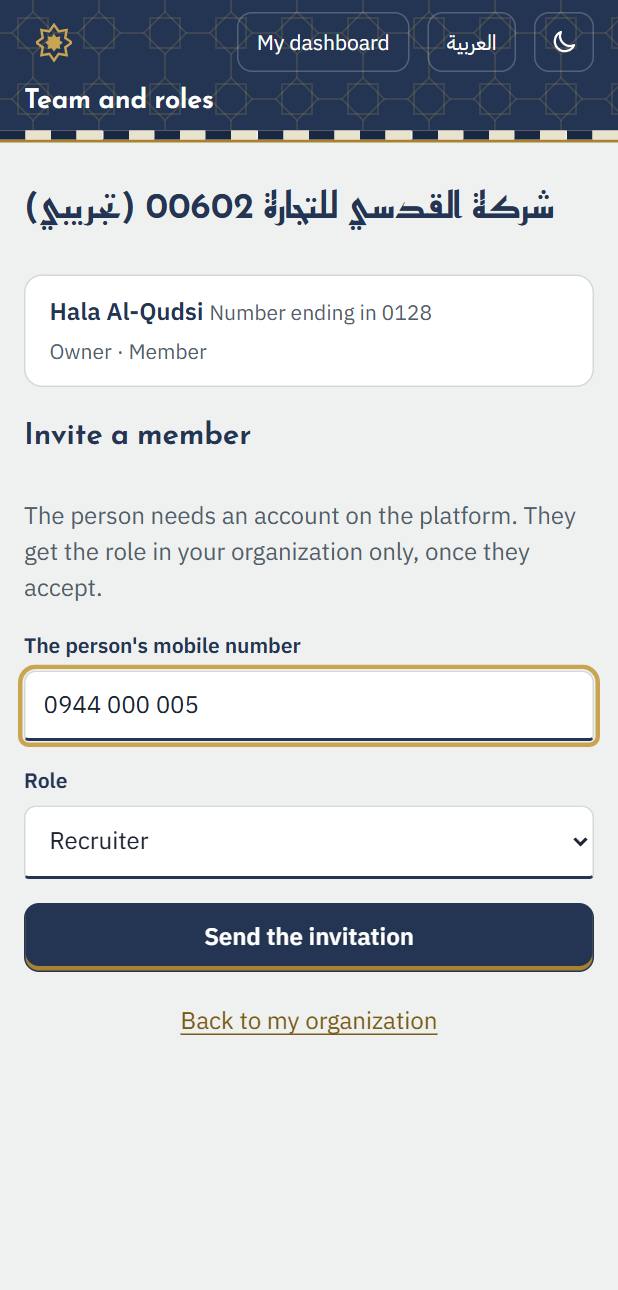
1. In “Team and roles” choose “Invite a member”: type the person's mobile number and choose their role (recruiter, viewer, analyst...), then “Send the invitation”. They accept from their own account.
4. Publishing an opportunity
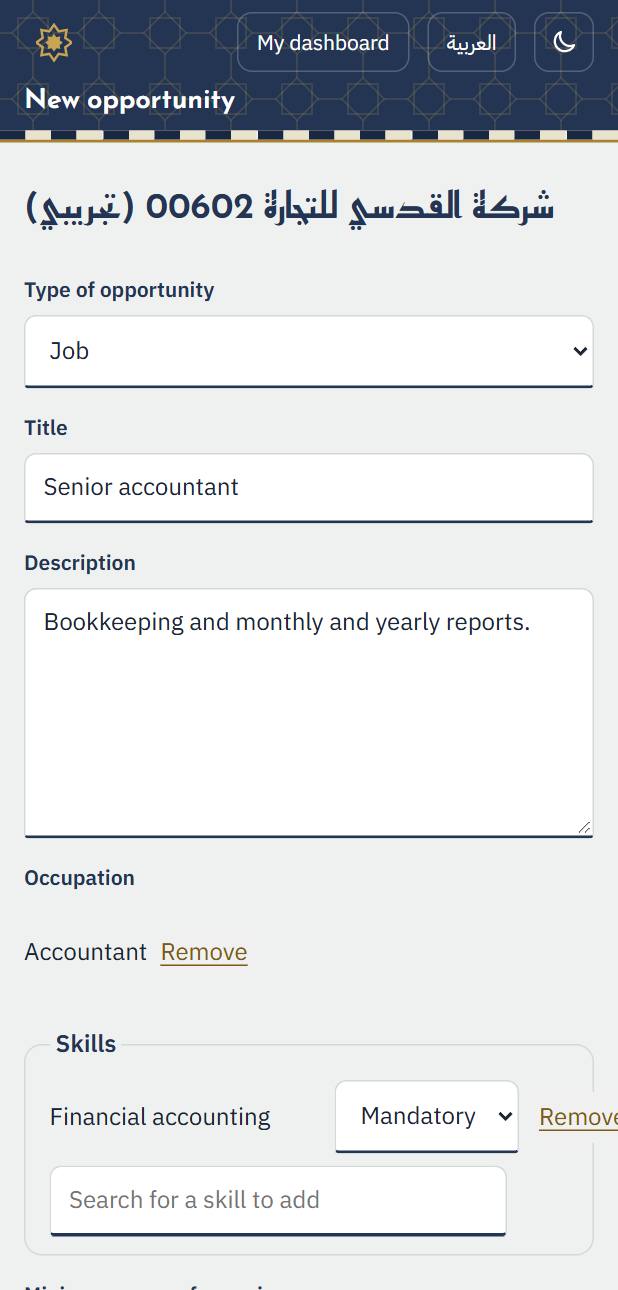
1. In “My organization's opportunities” choose “New opportunity”. Type the title and the description, search for the occupation and the skills you need, and set the experience, the qualification, the governorate and the deadline.
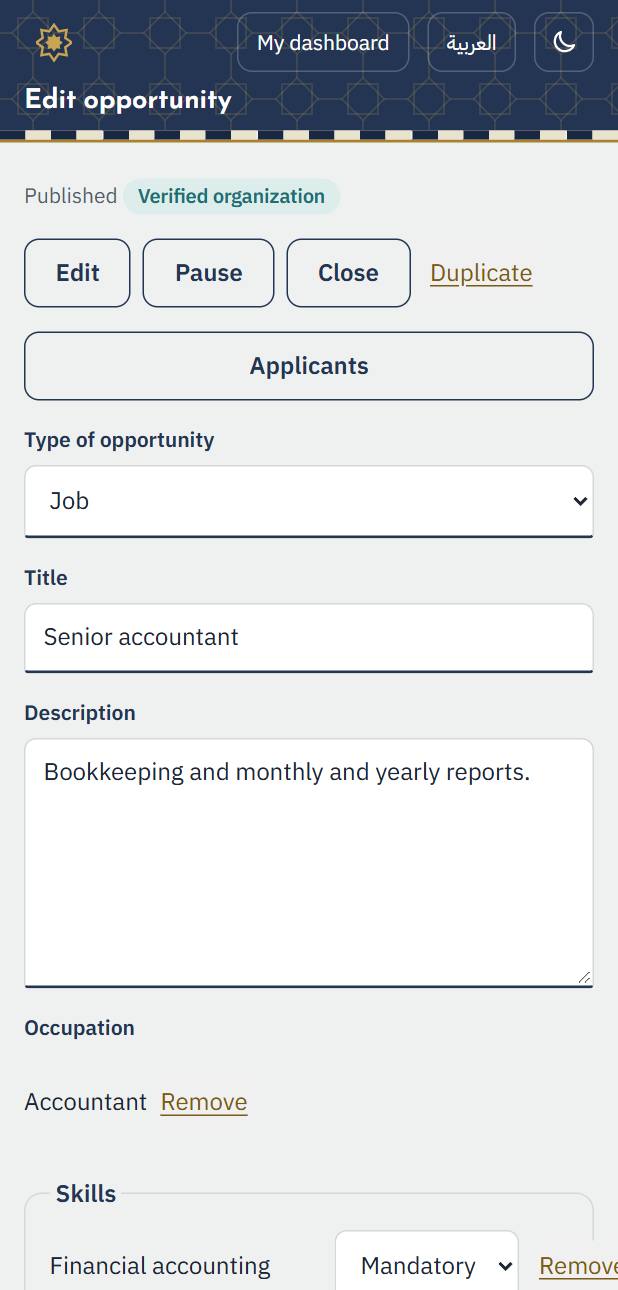
2. Press “Save and publish”. If a field needed to publish is missing, a message next to it says what to complete. Once published, you can pause, close or copy the opportunity.
5. Reviewing applicants
1. Open “Applicants” from the opportunity's page. Applicants are ordered by match, then by who applied first; gender, religion, origin and governorate are never part of the order.
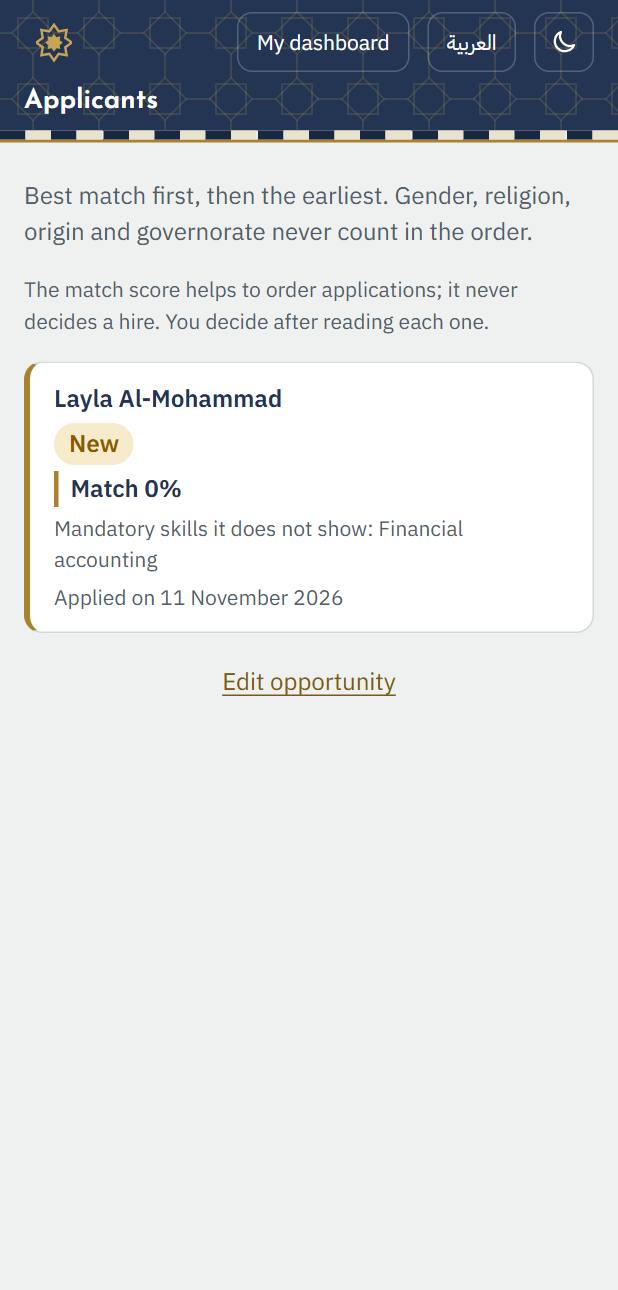
2. Open an application to see the applicant's message and their passport as they let it show, and the skills it does not show. Opening it marks it “reviewed”.
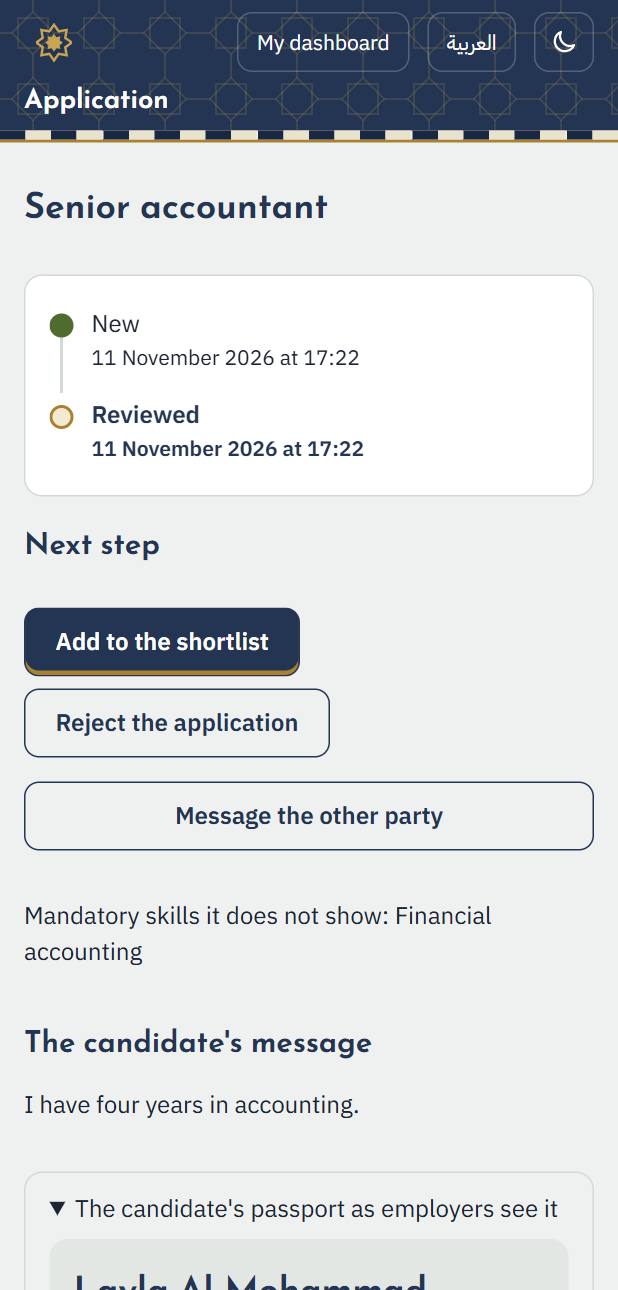
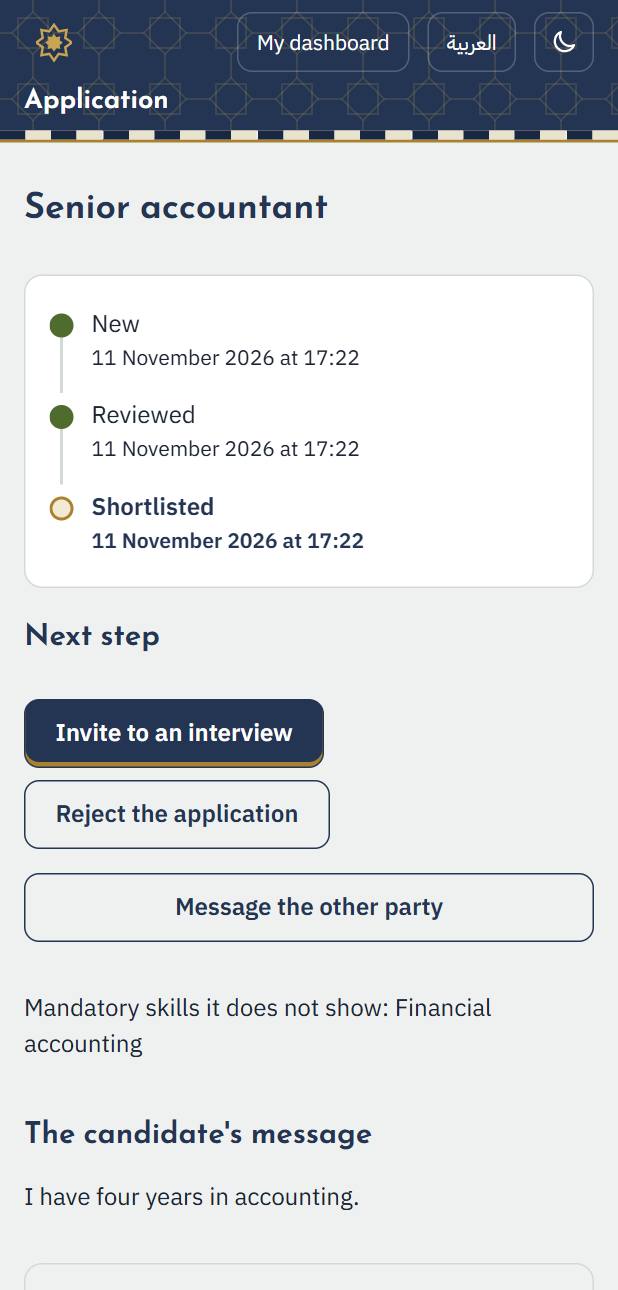
3. Move it on: “Add to the shortlist”, then interview, then offer. Or reject it with a reason the applicant sees. The applicant is told of every change.
6. Searching for talent
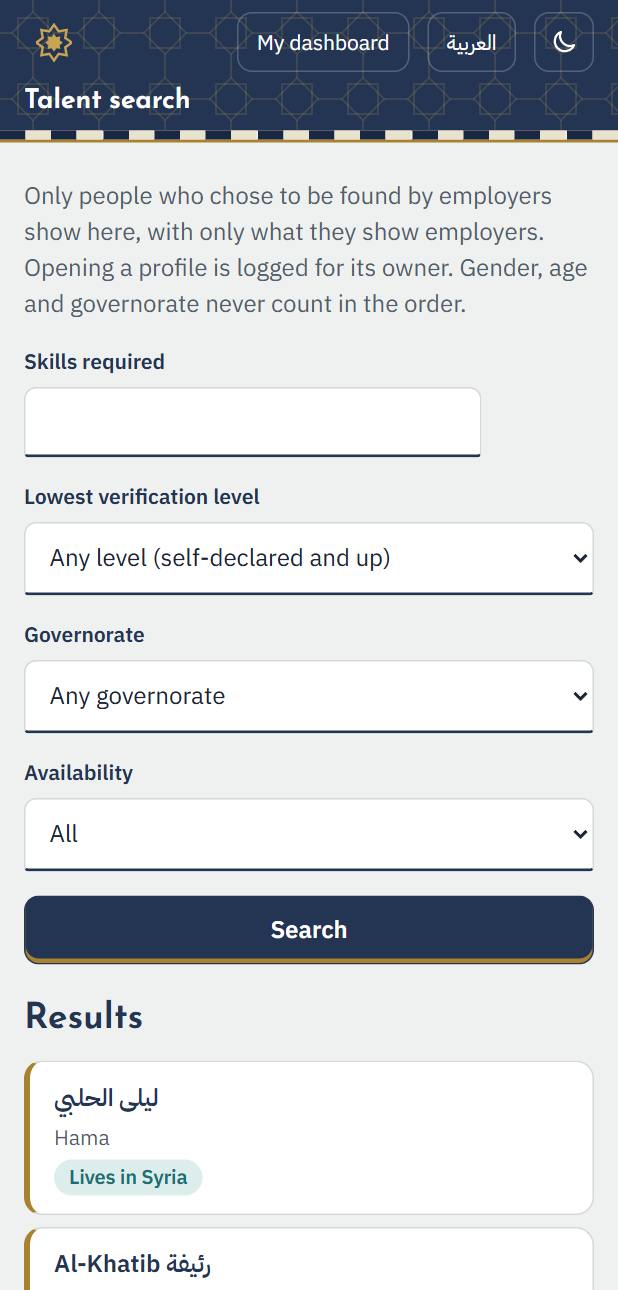
1. “Talent search” shows the people who chose to be found by employers, by skill, level, governorate and availability. Phone numbers stay hidden; invite the person to your opportunity so they can reach you.